The list covers highlighting, eye makeup, lip color, a natural look, a picture-perfect base, a rosy glow, practice, emotional resilience and budget, and the ones that suit you depend on how much skill and practice time you have before the wedding.
If your skill is limited, the natural look is the safest pick, since small slips blend away, while a full base asks for a daylight trial and a flash photo before the day.
Run the whole look start to finish once a month, then step it up to every week or two once the final 2 months arrive.
1. Highlighting
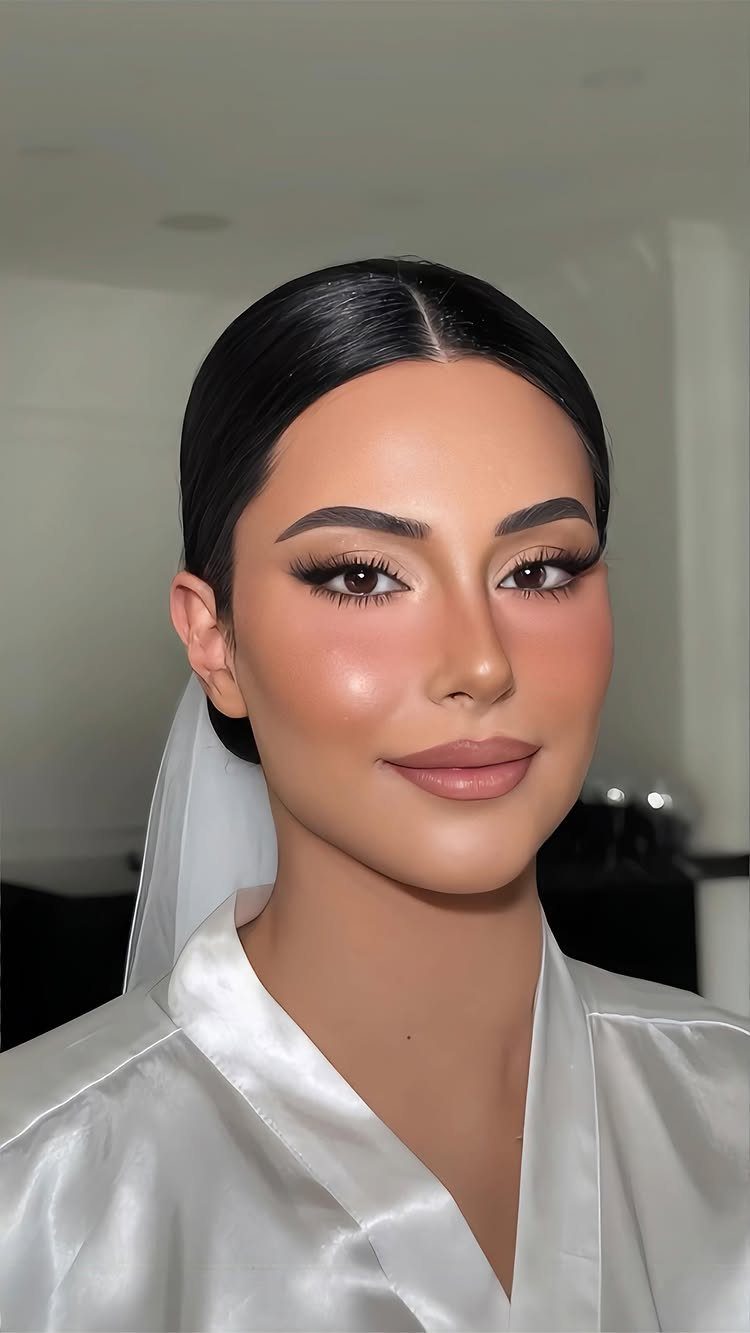
Place highlighter only where light naturally hits: the tops of the cheekbones and the bridge of the nose, with a touch on the brow bone if you like. Those are the spots that catch light in photos.
Keep the placement tight. A small amount on the tops of the cheekbones and a touch down the bridge of the nose gives a glow; sweeping it everywhere reads as oily under flash.
I would choose a soft sheen over visible glitter, since the glow should look like skin.
Apply it last, after base and blush, so you can judge how much light the face needs.
2. Eye Makeup
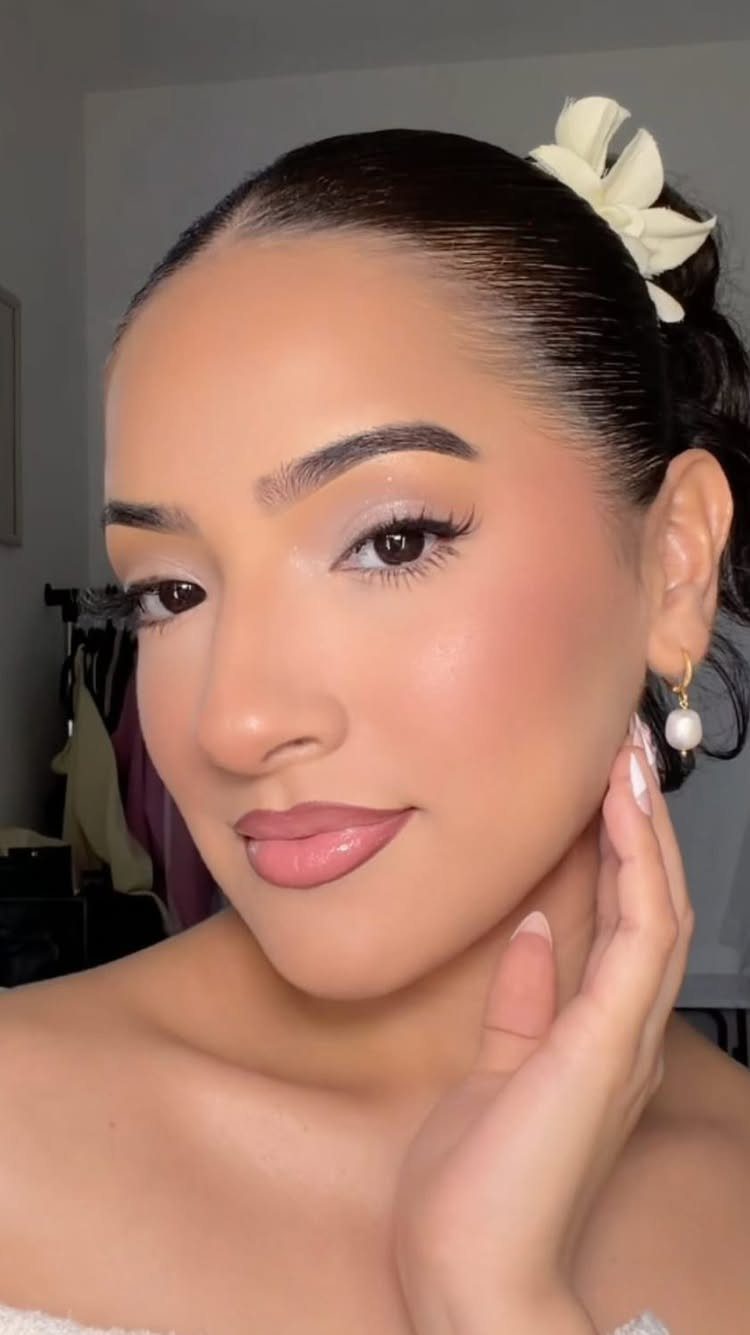
Shimmer on the lids, defined brows and a clean, simple hairpiece make a balanced eye look, and each piece does its own job.
Pick a shimmer that sits close to your skin tone rather than one that fights it. Press it on with a fingertip or flat brush so the sparkle stays on the lid instead of drifting down your cheeks.
Fill the brows in light, short strokes, because they frame everything else. Define them enough to match the eyes, and no more.
If you are short on budget, spend on the shimmer and brow product before anything else.
3. Lip Color
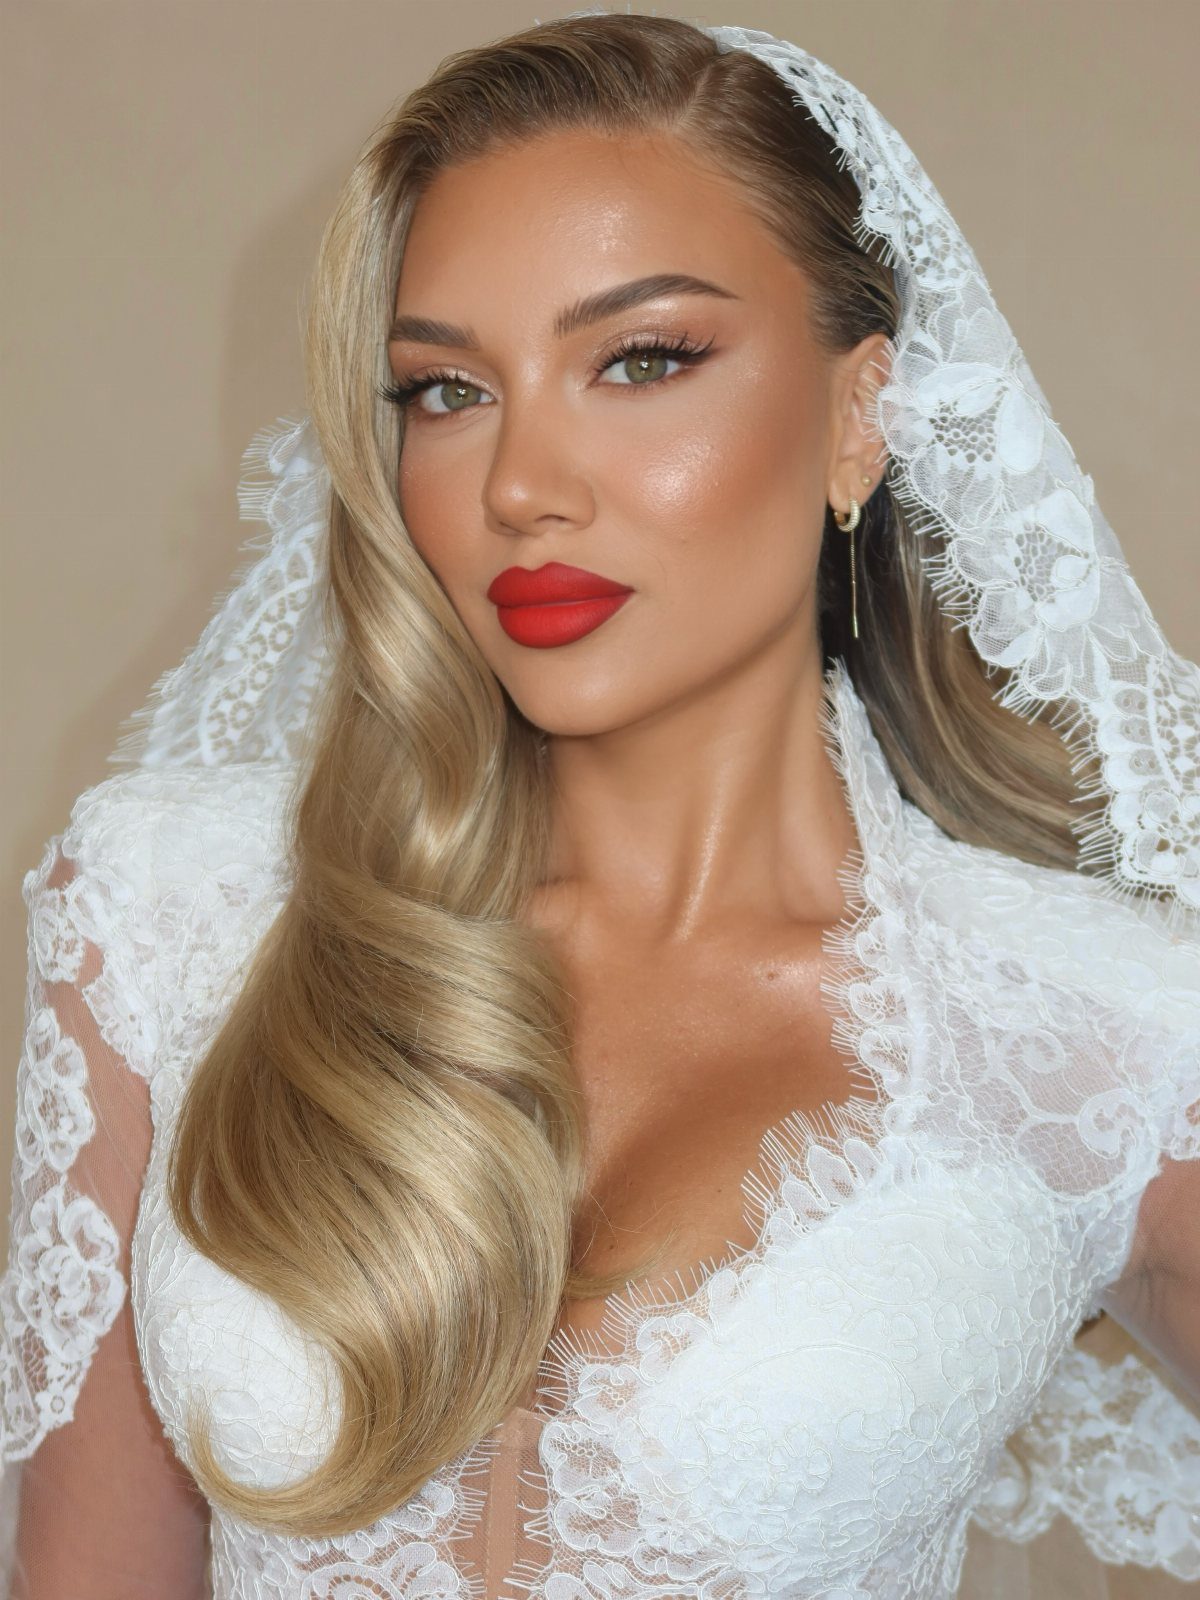
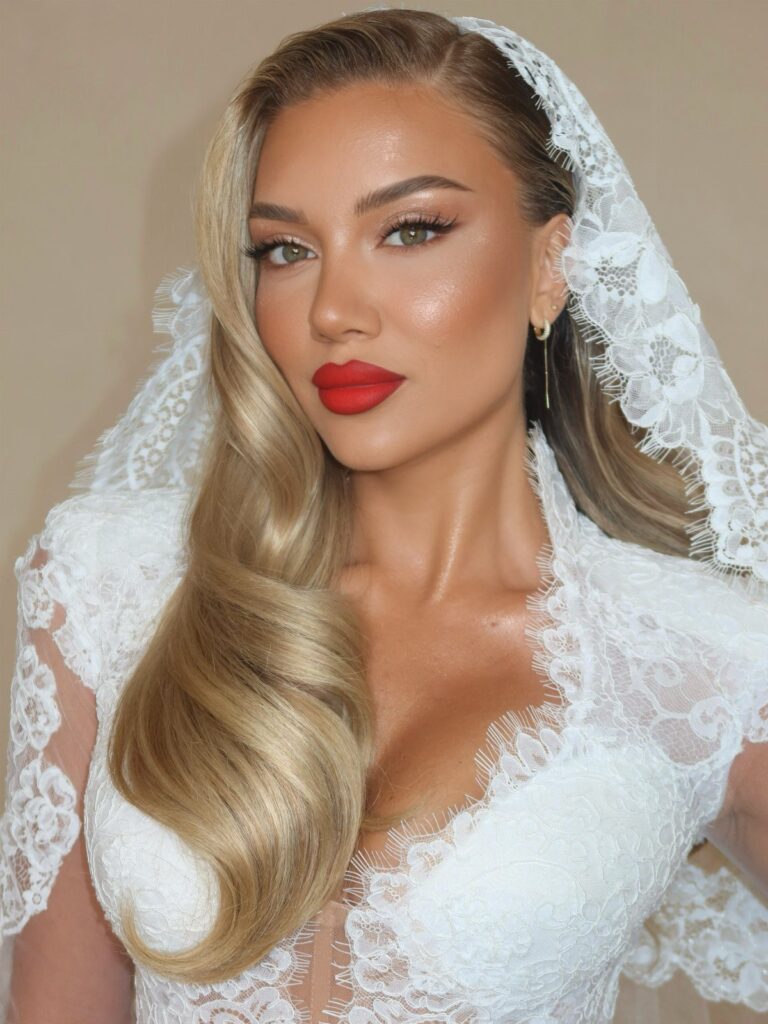
A bold red lip looks best against soft, glowing skin, so keep the cheeks, lids and base quiet and let the lipstick do the talking.
Choose a red by holding it against your face in daylight. Blue-leaning reds tend to look cooler, while orange-leaning reds look warmer, so test both before the wedding day.
Line the edges first for a sharper shape, then fill in the color. Blot once and apply a second layer.
Want less commitment? A sheer berry or rose stain gives the same focus with far less upkeep.
4. Natural Look
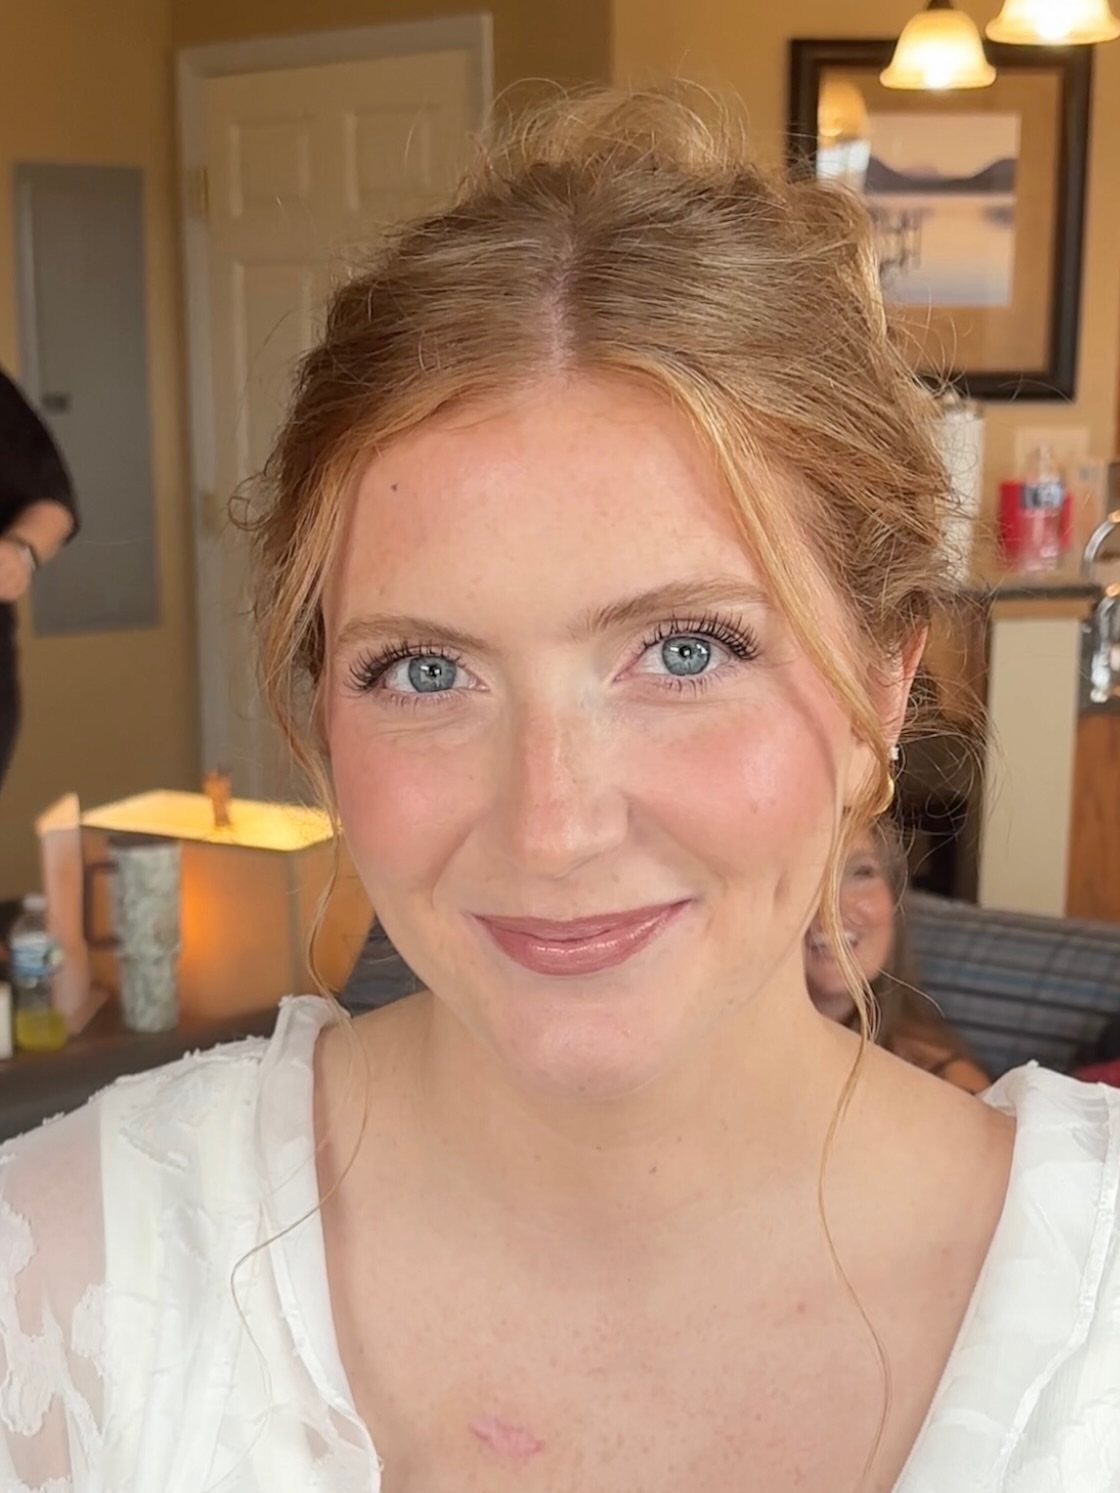
Natural wedding makeup starts with the skin: light coverage, soft color and nothing that will look dated in the album years from now.
For brides and guests with limited budgets or skill, this is the easiest look to do yourself, because small mistakes blend away instead of showing. Use thin layers of product and build only where you need it.
Stay close to your own coloring, with a soft lip and neutral lids. Natural does not mean bare, so a little mascara and concealer still help in photos.
5. Get Your Base Picture-Perfect
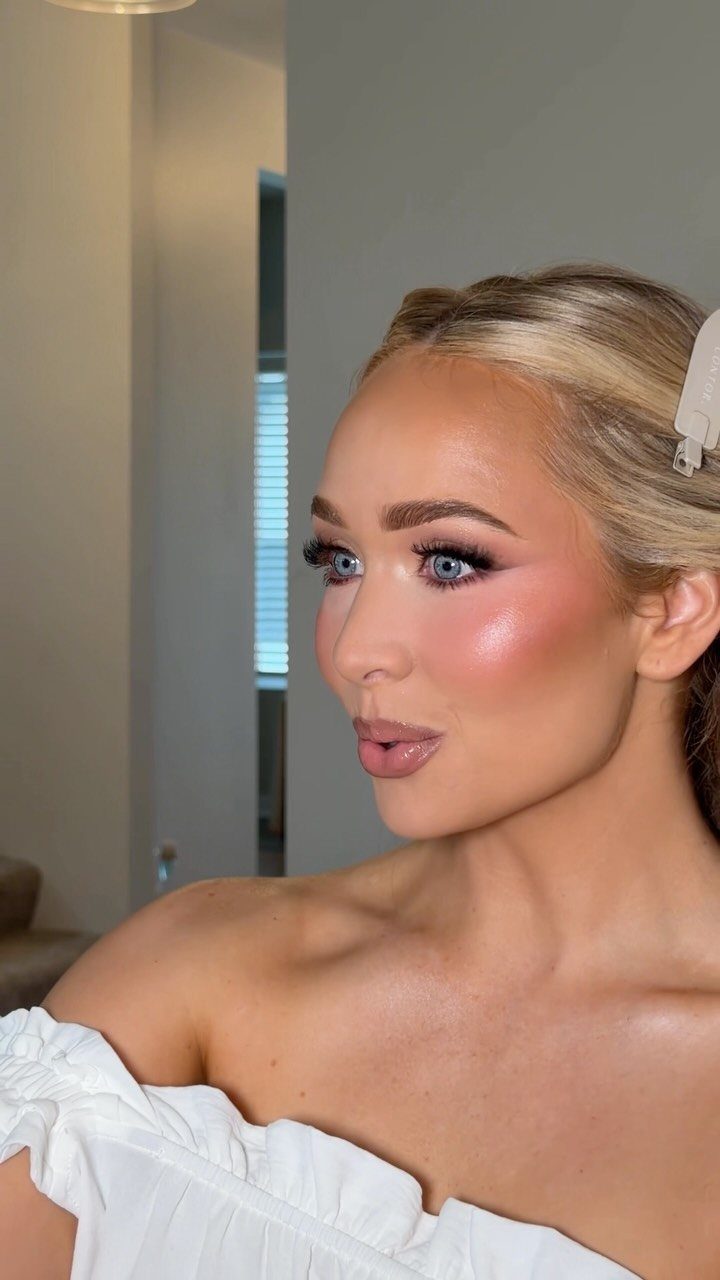
Spend your practice time on the complexion, because every other step sits on top of it. Concealer, foundation, powder, blush and bronzer are the layers to get right.
Order matters.
Foundation goes first, then concealer where you need extra coverage, then powder to set it. Blush and bronzer come after, so you can see where color is actually needed.
Blend along the jaw and hairline until no edge shows. Do a full trial in daylight and take a flash photo, since that is how your skin will be seen.
Really spend time on your skin, getting your complexion perfect with concealer, foundation, powder, blush, and bronzer. Foundation should be applied with your fingers in a circular motion in sections on your face down to your neck.
— Glamour
6. Add a Rosy Glow
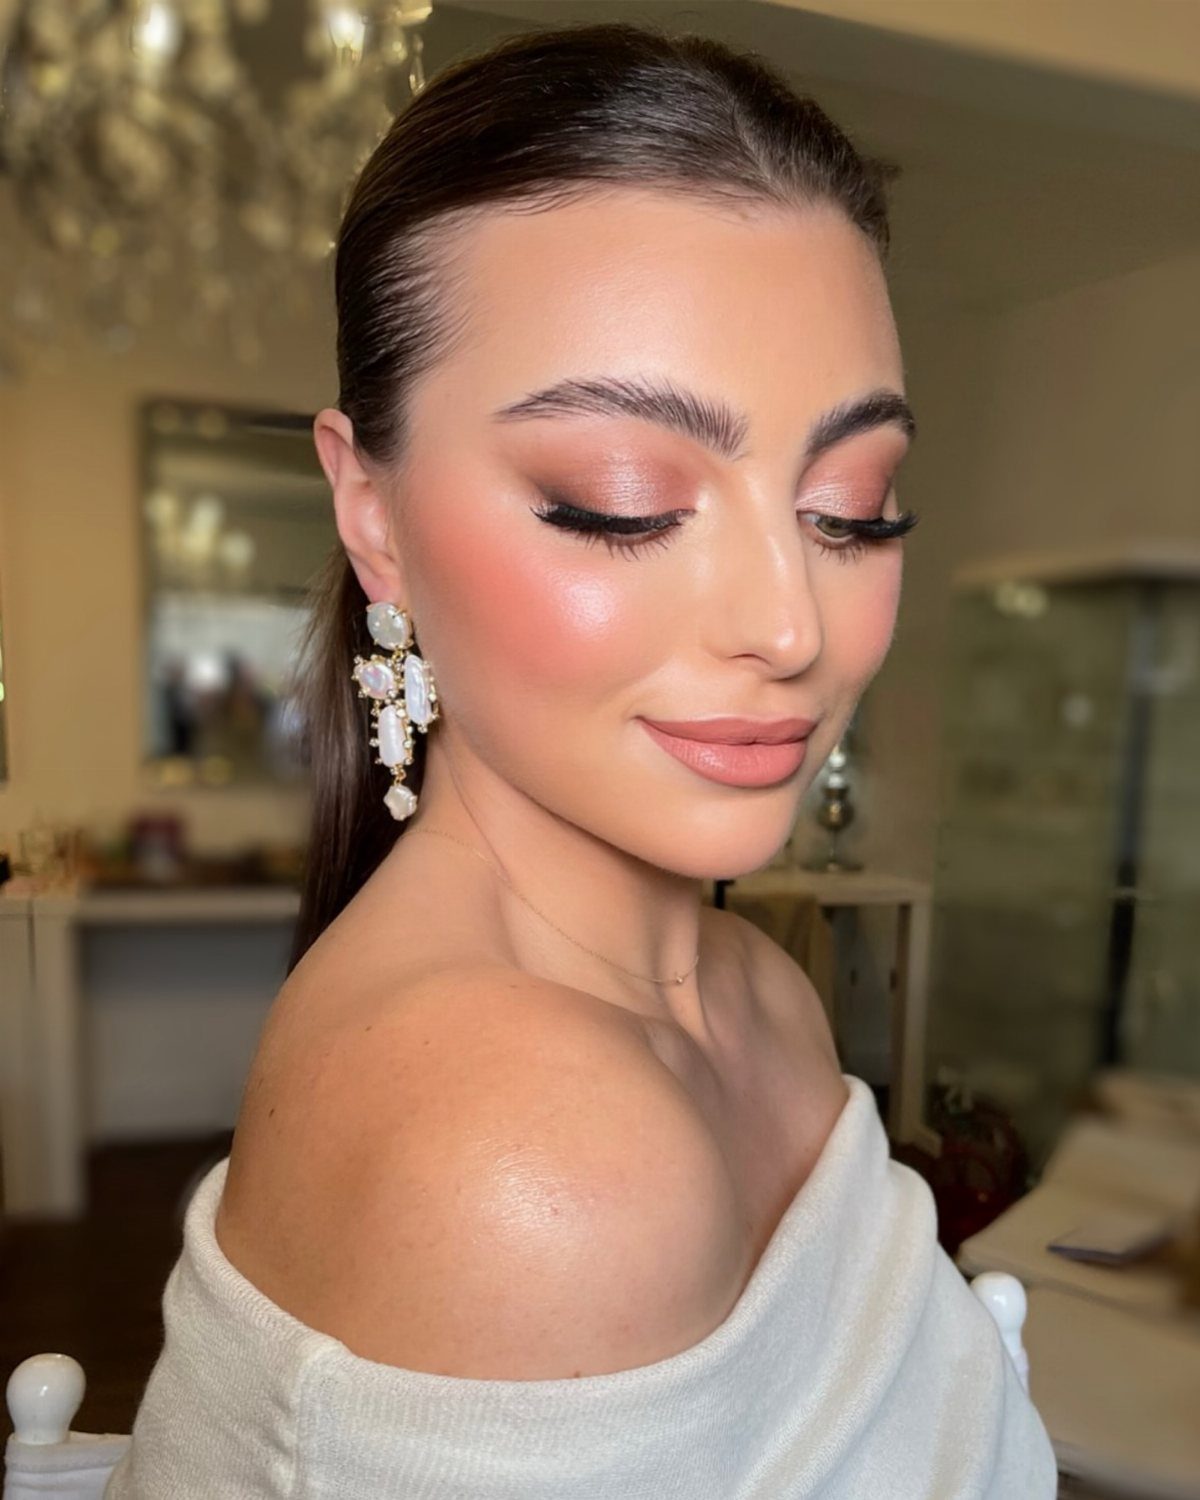
Pink on the cheeks, echoed in a soft pink eyeshadow, ties a face together without extra effort.
The fan brush deposits color lightly, which suits beginners who tend to overdo blush. Tap off the excess, then sweep it across the cheekbones and up toward the temples.
I prefer building in two light passes over one heavy one. Stop when the color looks like a flush rather than a stripe.
Practice for Confidence
Plan on running your full wedding makeup look at least once a month until the wedding, then more often once you are inside the last 2 months.
Repetition makes the placement and the products familiar, so the look comes together faster and starts to feel automatic.
Skin prep belongs in those practice sessions too. A glow starts well before foundation, and hydration is the base of it, so test your prep routine along with the makeup.
Hold any new product or trend for practice days. Wedding morning is the wrong time to try something for the first time.
If you plan skin treatments such as chemical peels before the wedding, schedule them with care and leave plenty of recovery time.
Emotional Resilience
Tears and hugs are almost guaranteed on the day, along with some happy crying nobody planned for. Waterproof formulas for the products most likely to smear, mascara above all, help the look hold through them.
Test any waterproof product during practice. These formulas can feel different on the skin and often need an oil-based remover at night, so find out how yours behaves before the wedding.
Tuck a small tissue in your bag and blot under the eyes rather than rubbing. Dabbing keeps the product where you put it.
Budget Considerations
Set a makeup budget early, then spend it on fewer, better products rather than a full drawer of cheap ones. Quality formulas are often sheer and glowy by nature, and they let skin show through.
That also makes the budget easier to keep. Buying less saves money, because a light touch works better than piling on product.
Small layers beat heavy ones in person and in pictures. Spend your product budget on the spots that need real coverage, like redness or under-eye shadows, and let the rest of your skin look like skin.
Even a fuller-coverage formula works best used sparingly, since a small amount gives good coverage without looking heavy.
Frequently Asked Questions
How to do makeup for a wedding step by step?
Start with the base and build outward. Start with base: foundation, then concealer only where you want extra coverage, then a light dusting of powder to lock it down.
Blush and bronzer come after that, since you can’t tell how much color you need until the skin is even.
How to make older eyes look younger?
Keep the eye look simple and balanced. Pick a shimmer within a shade or two of your skin and tap it onto the lid with a fingertip or a flat brush, which keeps it from creeping into creases.
Use short, feathery strokes to fill the brows, and stop once they balance your eyes. Thin layers of product look more like skin than heavy ones.
What are the bridal makeup trends for 2026?
Neutral colors are the safest direction: nudes, neutrals and rosy hues.
A trend that feels fresh this year can look dated in your album a decade from now, and a soft, neutral palette is the safer bet for photos you’ll keep.